A Deep dive into DevOps #5
Build your custom CI/CD pipelines in your github repositories through github actions 🚀
Building a custom CI/CD pipeline in Github Actions can significantly improve the speed and efficiency of your development process. In this article, we'll go through the steps for creating a custom CI/CD pipeline in Github Actions.
Step 1 - Set Up Your Github Repository
The first step is to create or select a Github repository. You must have admin access to the repository to create Github Actions.
Step 2 - Create a Workflow File
To create a Github Action, you'll need to create a workflow file. This file contains the workflow definition in YAML format. To create the file, we need to open the repository in a text editor or Github web interface and navigate to the .github/workflows folder.
In this folder, we can create a new file, for example, ci-cd-pipeline.yml. Inside the file, we define the jobs, actions and steps that make up the pipeline. We need to specify the events that trigger each pipeline's stages or steps.
Step 3 - Define the Pipeline Jobs
Each pipeline job has a specific objective and runs independently of other jobs. For example, we could create separate jobs for running tests, building a Docker image or deploying an application to a server.
To define the job, we specify the necessary inputs, outputs, environment variables and any services required to run the action. We can also leverage different Github Actions as part of our job, like actions/checkout@v2 if we need to clone the repository or docker/build-push-action@v1 for building and pushing Docker images.
Step 4 - Define the Pipeline Stages
Once the jobs are defined, we can group them into stages. For example, we could have a Build stage, which runs the job responsible for building and testing the application. Once this job completes successfully, the pipeline moves to the Deploy stage, which is responsible for deploying the application to a server.
We can also specify dependency mappings between different jobs in each stage. For example, we can define that the Deploy stage depends on the Build stage's successful completion. We use dependson to achieve this.
Step 5 - Configure Secrets
Our pipeline may require access to secrets, like environment variables or API keys, to run successfully. It's best practice to store your secrets in Github Secrets, which are encrypted and securely stored. You can use secrets in the pipeline using the ${{ secrets.SECRET_NAME }}.
Step 6 - Run the Pipeline
Once the pipeline is defined, we can initiate it by performing a git push to the repository. The pipeline will then start running automatically. The pipeline's status is visible on the Github Actions tab of the repository. We can see the pipeline jobs' status, view logs or troubleshoot issues in the pipeline run.
Understand workflow file and how it works 🔍
name: CI/CD Pipeline

on:
  push:
    branches:
      - main
  pull_request:
    branches:
      - main

jobs:
  build:
    runs-on: ubuntu-latest

    steps:
    - uses: actions/checkout@v2
    # Perform any other setup steps (e.g., installing dependencies)

    - name: Run tests
      run: |
        # Example test command

    - name: Build
      run: |
        # Example build command

    - name: Deploy
      needs: build
      run: |
        # Example deployment command
This pipeline consists of a build job that runs on ubuntu-latest. The job first checks out the repository using actions/checkout@v2, runs tests, builds the application, and then deploys it. The needs: build attribute for the Deploy job specifies that it should wait until the Build job completes successfully before running.
To use this file, save it with the name ci-cd-pipeline.yml in the .github/workflows directory of your repository. Once pushed to your Github repository, Github Actions will automatically verify and begin using this pipeline.
On
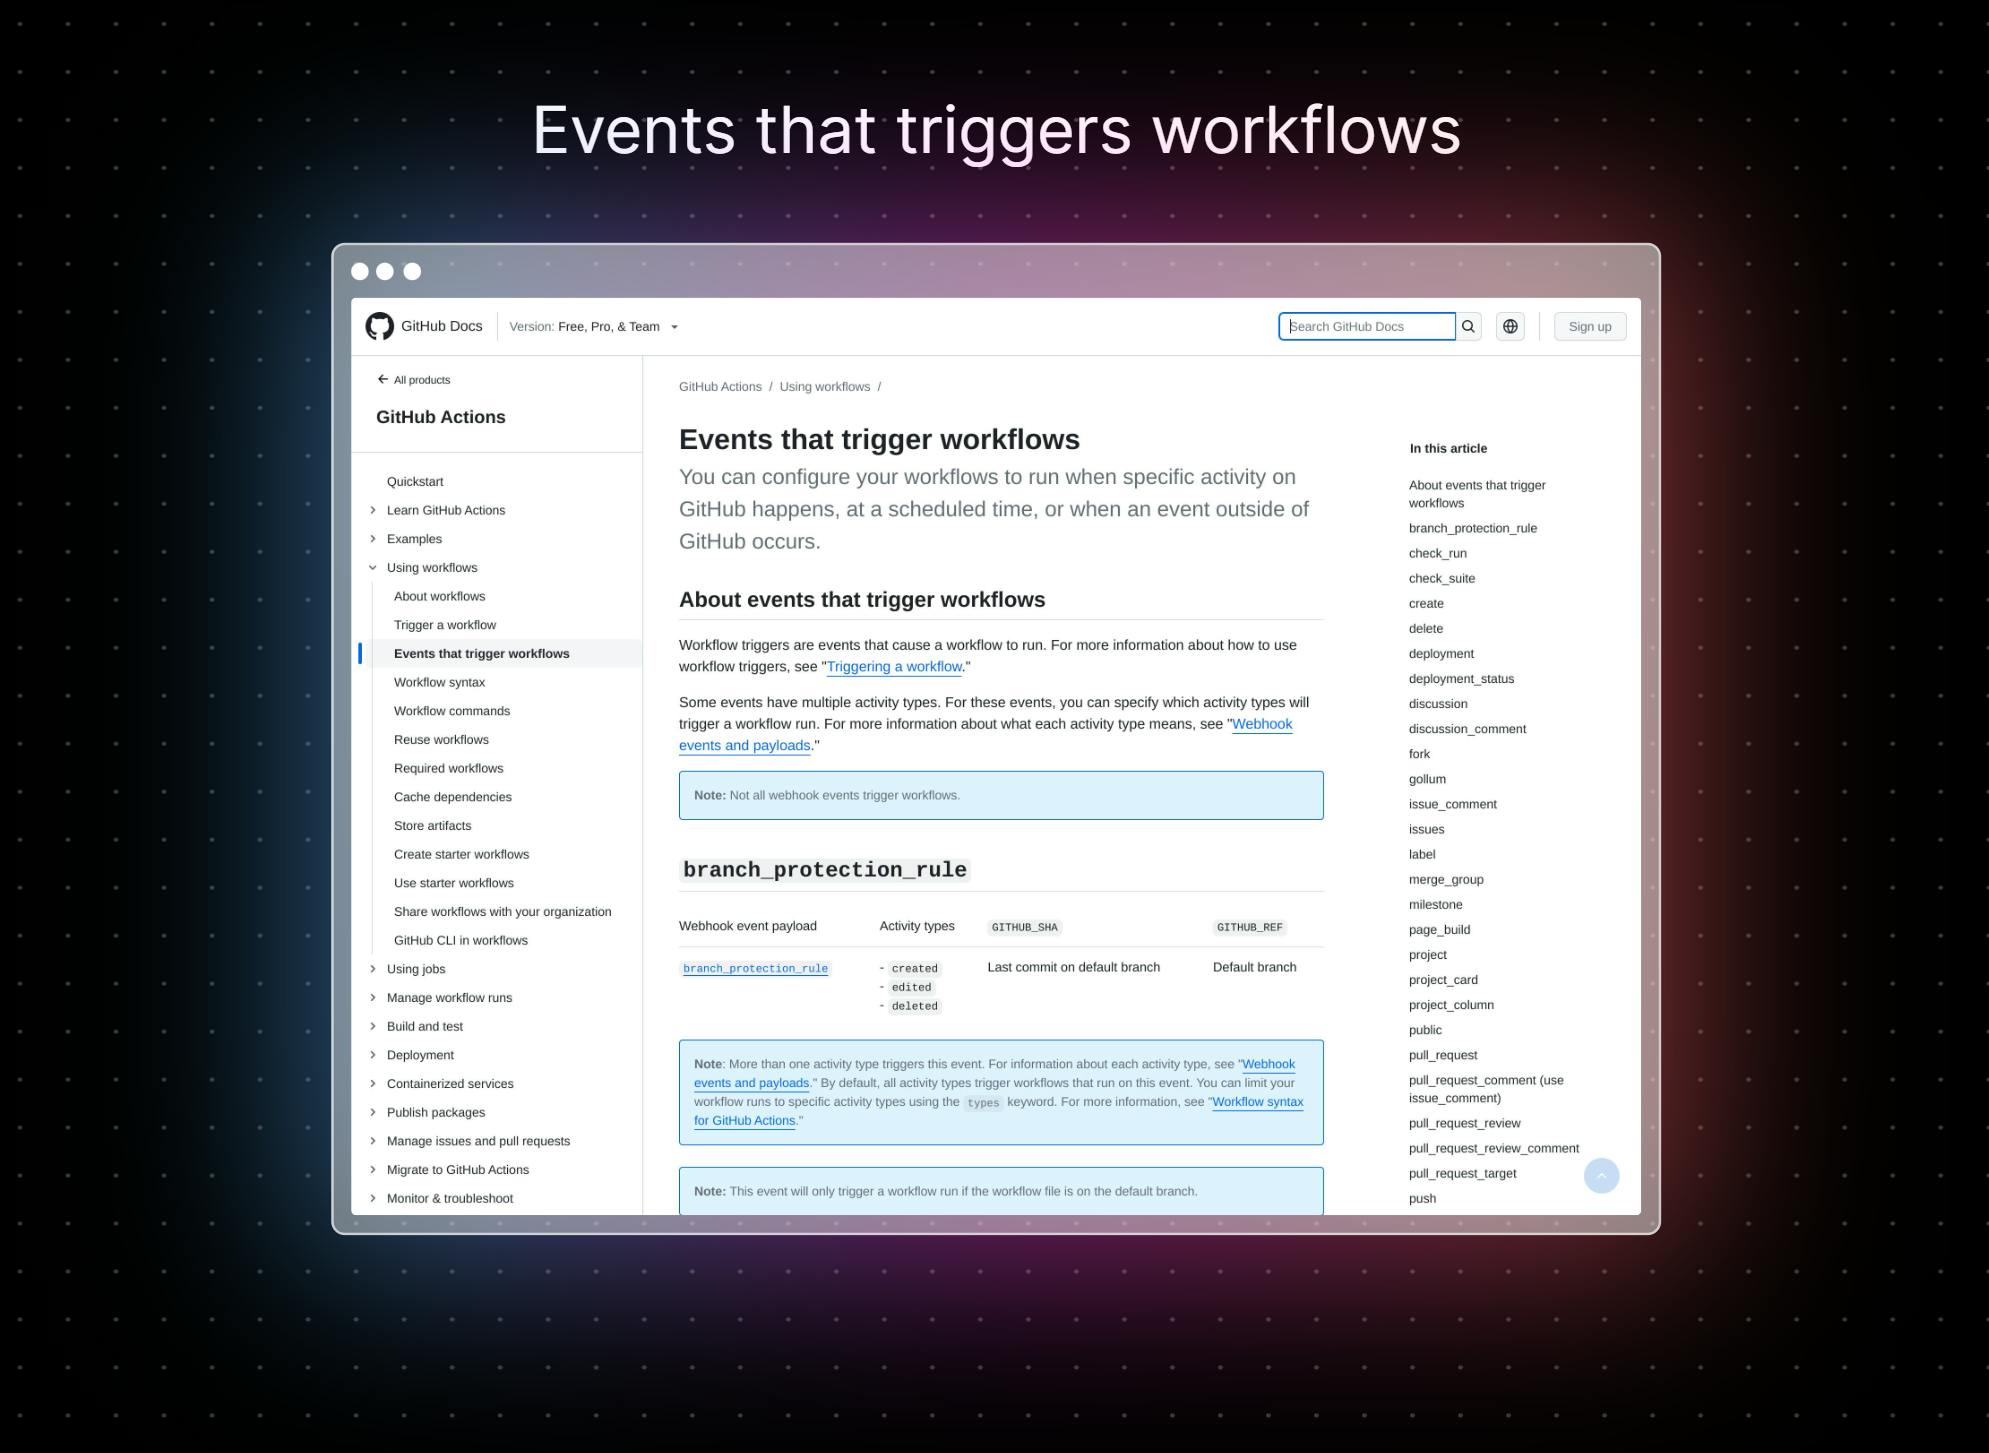
On will specify the event that will trigger the workflow as you can see in the above example you can see a pull request on the main branch and a push action on the main branch will trigger this particular workflow and that will be the cause of triggering a workflow
Checkout different events that can trigger a workflow 🏳

Jobs
A job represents a set of steps to run on a specific environment. A workflow can have one or more jobs, and each job runs in its own environment. You can define multiple jobs in a workflow file, and they will run concurrently, each in its own job workspace. A job is defined using the jobs key and should have a unique name.
jobs:
  build:
    runs-on: ubuntu-latest
    steps:
      - name: Checkout code
        uses: actions/checkout@v2
      - name: Build code
        run: |
          npm install
          npm run build
In this example, the workflow contains one job, named build. The runs-on key specifies the environment on which the job should run, and the steps key defines the actions that should be performed as part of the job.
Build
The build is a user-defined name of the job that you can use to reference the job in other parts of the YAML file, such as when defining dependencies between jobs.
Runs-On

The runs-on key specifies the environment that the job will run on. This can be a virtual machine (VM) or a container. GitHub provides pre-built virtual machine images to enable you to quickly start a job's environment. The possible values for runs-on include:
ubuntu-latestwindows-latestmacos-latestubuntu-20.04windows-2019macos-11.0
The choice of environment should be made based on your needs, such as the operating system or the specific versions of installed software.
Steps
The steps key specifies a list of actions or commands to be executed by the job in the defined environment. Each step is a set of instructions used to run a command or perform an action. The steps field is an ordered list of actions, and each action can be assigned a name, run a command or action, or use a GitHub Action provided by a third-party.
In the given example, we have defined two steps - Checkout code step and Build code step. The first step, Checkout code, gets the latest code from the repository while the second step, Build code, compiles and builds the project using the appropriate build tools.
and it's doneeeeee for now !! 🚩
We will see how you can schedule your workflows with the time and how the syntax of schedule works in the next one 🚀
If you have got something interesting make sure you follow and you can also thank me by giving reaction 😊
